


 12 / 16

12
FALL 2017
Method #1: Use a Scanner
For the highest quality results, use a
scanner to digitize your photos. Before
you start, be sure to clean the scanner
glass and the photos carefully. Then
begin scanning. Each scanner and the
associated software will work differ-
ently, but here are a few basic tips:
• If you’re looking to buy a scan-
ner, do some research to see which
options suit your needs. High-level
categories are flat-bed, sheet-fed, and
portable scanners.
• Use the editing options to resize,
crop, adjust brightness and color,
and remove red-eye.
• To save time, scan several photos at
once, and crop them into separate
files later (some software will do this
for you).
• Use the appropriate resolution set-
ting. Experts recommend between
200 and 600 dots per inch (dpi),
depending on how you’ll use the
photos once they’re scanned in.
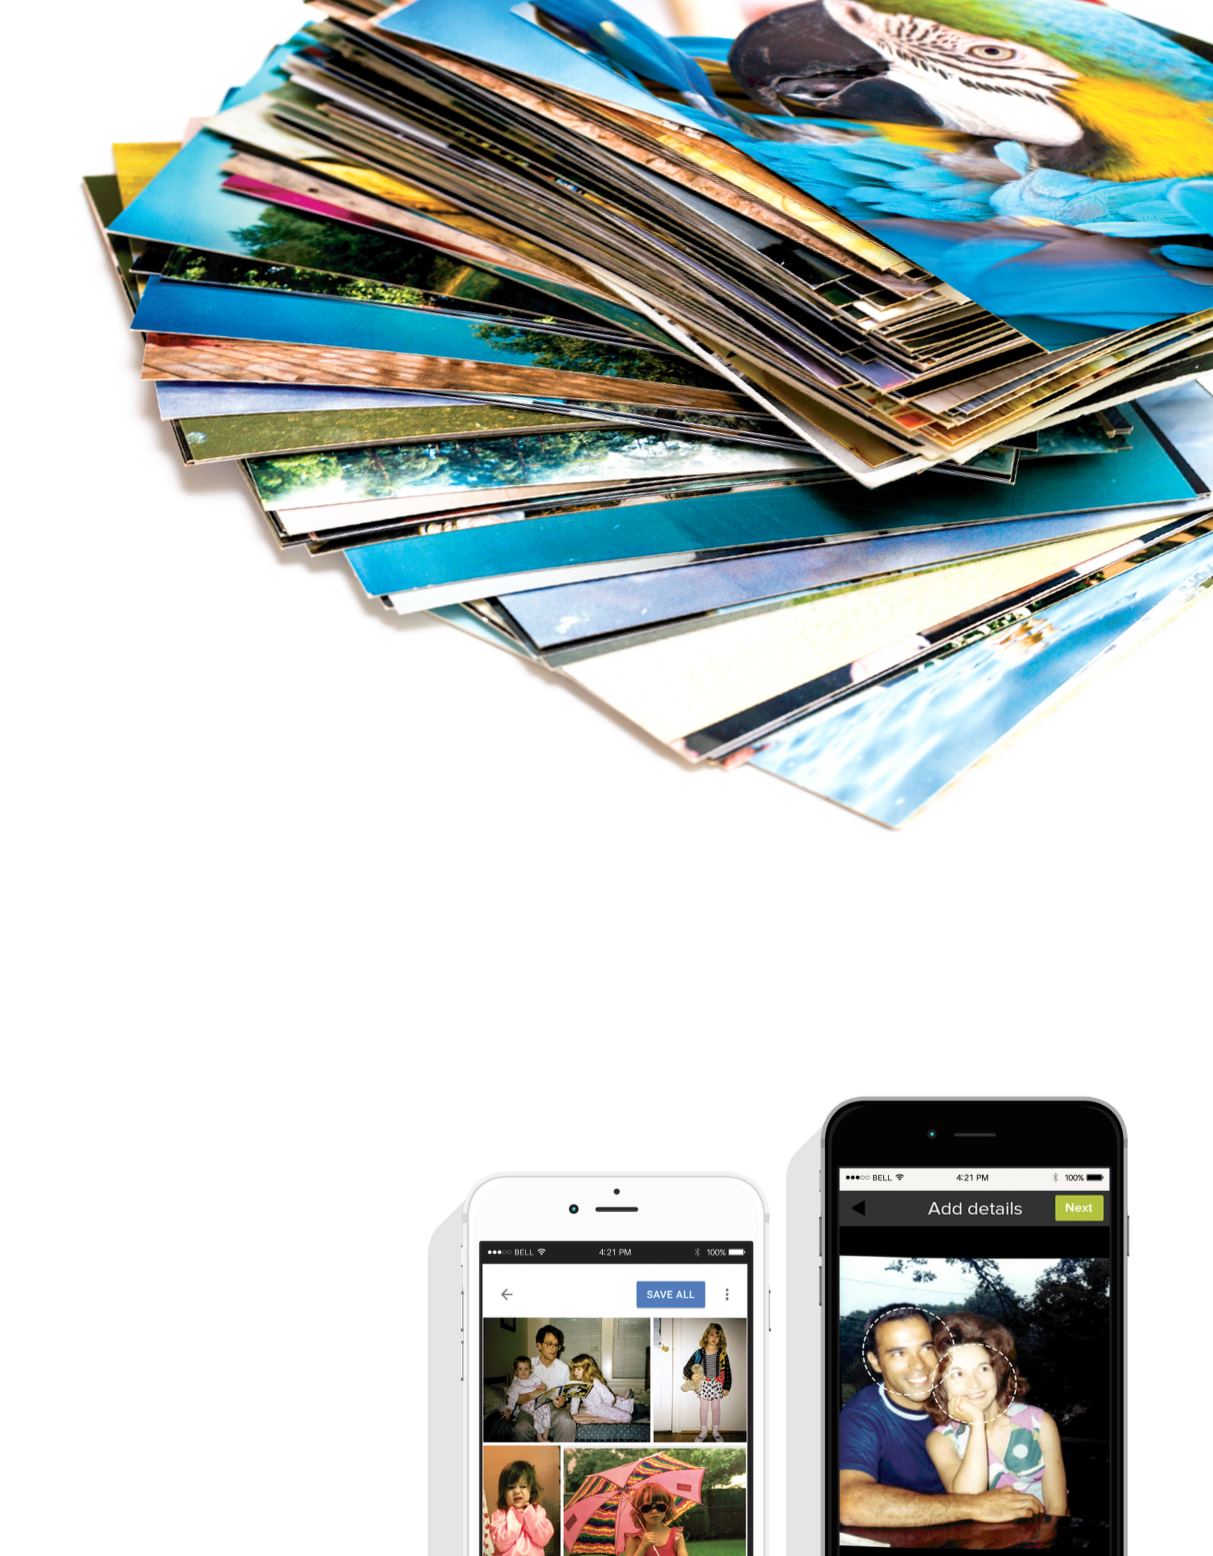
Method #2:
Use Your Phone
Apps like Google’s
PhotoScan and Shoebox from
Ancestry.comare designed
specifically to allow you to scan
photos using your phone. The pro-
cess is similar to using a scanner, and
the quality is surprisingly good.
Here are a few tips:
• As with the scanning method, be
sure to clean your photos and
your phone.
• For best results, scan in an area with
lots of natural light.
• Get your phone as close to the
photo as possible, and try to keep
your hand steady.
• Use the app functions to crop and
make other adjustments.
• Use the associated storage function
to retain your photos.