


 11 / 16

FALL 2017
11
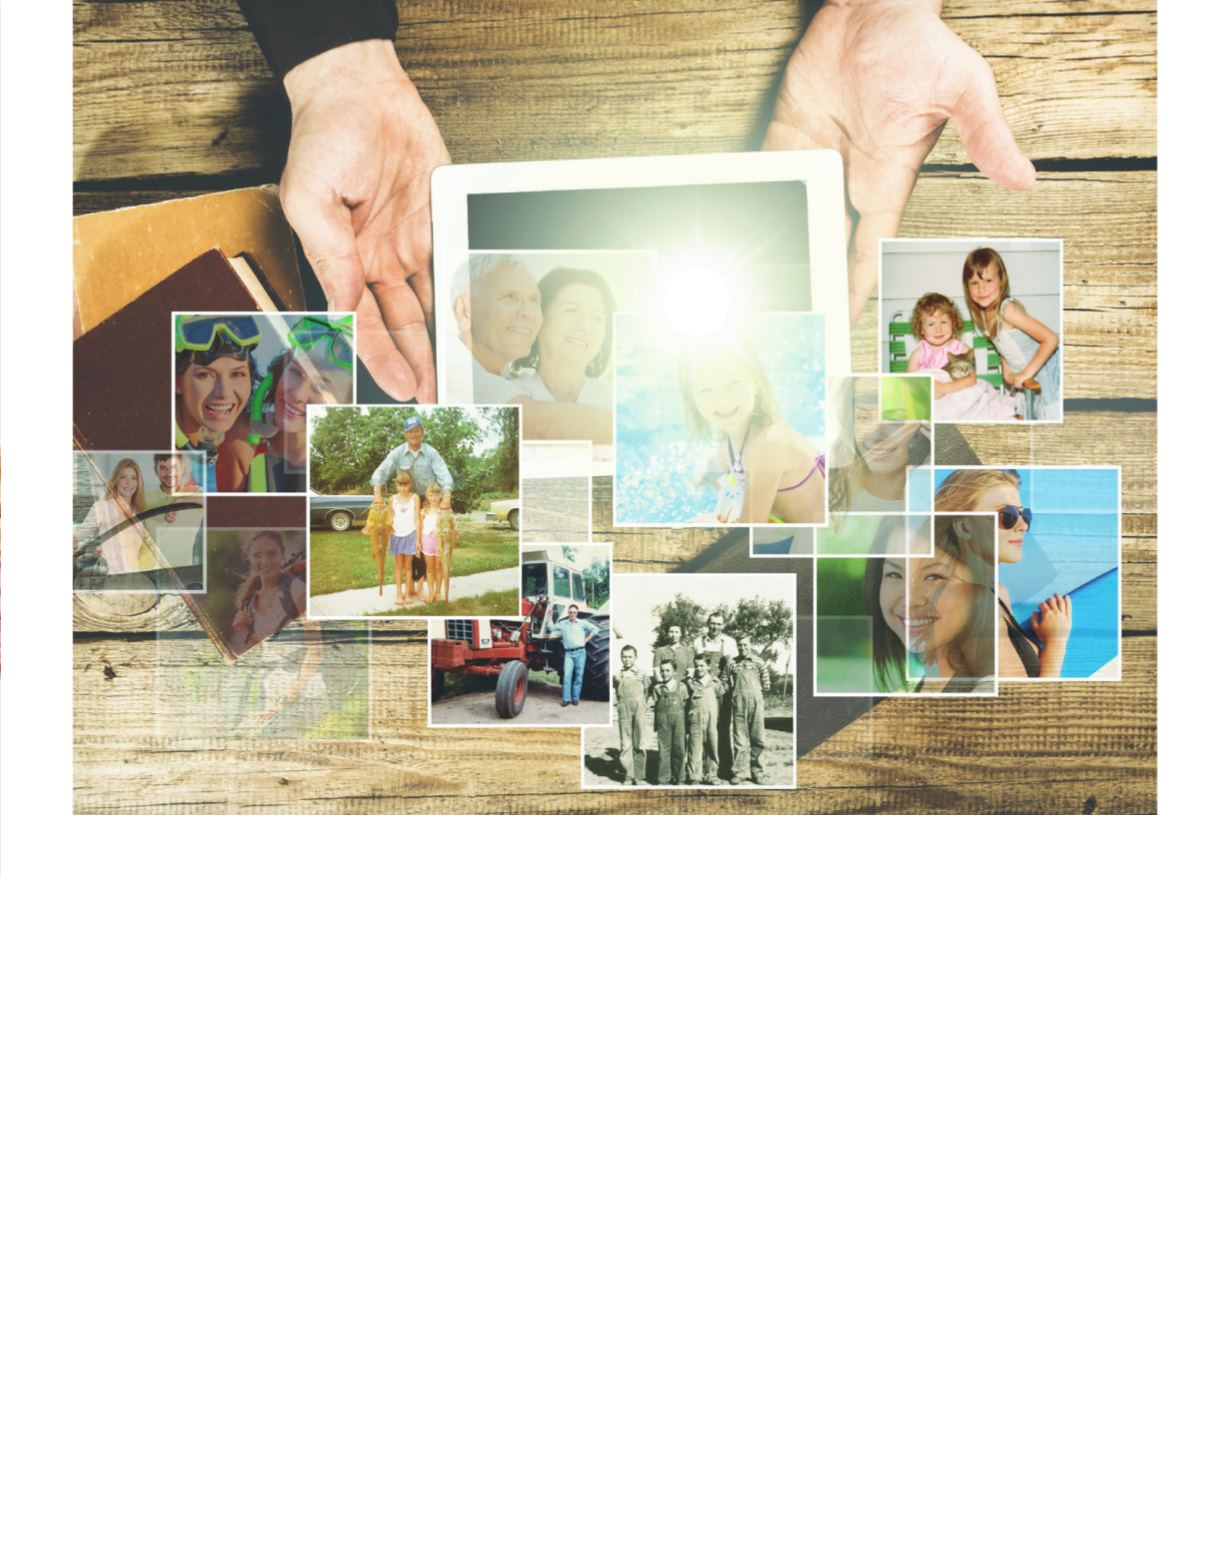
3Wa
ys to Digit
ize Your Old Photos
Break out the shoeboxes—it’s time to deal with those film prints
Get Organized
There are a few things you’ll want to do
before you start the actual digitizing pro-
cess. Don’t skip these steps; they’ll make
everything so much easier later.
1. Sort your photos.
Gather all the photos
you want to digitize, and put them into
piles based on an organizational scheme
that makes sense to you. For example,
you could have a pile for each of sev-
eral events within a given year, such
as “1995–high school graduation,”
“1995–San Francisco trip,” and
“1995–Dad’s birthday party.”
2. Prepare digital folders.
The point of
digitizing your photos is making it
easier to find and work with them.
Use the organizational structure
you developed in step #1, and set
up corresponding folders on your
computer before you start the con-
version process.
3. Choose an online storage service.
In
addition to storing photos on your
computer or an external drive, you
should use a cloud-based storage ser-
vice as a backup. Check out services
like Flickr, Google Photos, Apple
iCloud Photo Library, Amazon Prime
Photos, Photobucket, and ThisLife to
determine which one suits you best.
When you’ve finished with the pre-
liminaries, choose one or more of
the following methods for the actual
conversion.
With all the solutions now available, there’s no reason to put it off any longer. Sure, organizing and
scanning old photos is a time-consuming chore, but there’s nothing hard about it. Plus, think of all the
fun you’ll have sharing embarrassing childhood shots of your brother on Facebook!